Skip to content

Maintaining WordPress Website

The Toback Group has transitioned to creating and maintaining webpages on WordPress. Wordpress is a content management system that the university uses to create websites. Wordpress has very intuitive features that allow users to manage a website without needing to know HTML. This webpage acts as a tutorial for TobackGroup members who want to contribute to the group webpages. 

Getting Started with WordPress

Before you get started with maintaining the WordPress webpages, you must first gain Editor access from one of the webpage admins. For the Toback Group webpages, you should contact Ben to request editor access. Once granted editor access, you will need to go to the following website to login with your TAMU NetID. Once logged in, you will be directed to the Dashboard of the Toback Group webpages. The toolbar on the left side of the webpage is where you will start. If you are the leader and need to obtain access as admin, you can request access my emailing artsci-web@tamu.edu. They can direct you towards any training needed to be come an admin.  

Maintaining WordPress Website

The three tools that contributors to the Toback Group webpages will need to use are

  • Posts (to add or edit content such as news, papers, talks, etc..)
  • Media (to upload images, pdfs, etc..)
  • Pages (to create or edit a webpage)

Managing Content


For the Toback Group webpages, we use the general term ‘content’ to reference any news, papers, or talks that a group member has contributed to. If you need to upload content to the webpages, you will always use the ‘Posts‘ tool on the WordPress Dashboard.

Creating a Post

 
On the Toback Group webpages, we upload content through the ‘Posts‘ tool. To add new content to the webpages you will want to create a new post by selecting ‘Add New’ under the ‘Posts‘ tool. Once selected you will be directed to the following page. There are four things that you will want to include when adding new posts. To start add a ‘title’ to the post by selecting the “Add title” section. Next, you will want to select the empty text box below the title section and include any information about the post. Typically in this section we mention what kind of content [talk, paper, news] and include information regarding who was involved and when it occurred (See example below for specifics). Now you will want to edit the ‘Publish immediately’ option that is found under the ‘Publish’ box on the right. You will be prompted to input a date and time for the content. We typically select the date for which the event occurred. For example, if we are publishing a talk we input the date that the talk occurred on (See example below for specifics). We do this because WordPress can auto sort our content based on published date. Then finally, you will want to add the category tags that are appropriate for the post. On the right side of the screen you can find the ‘Categories’ box which gives many options. Checkmark any options that apply to the post. Once the post is ready, you can select the blue ‘Publish’ button.
Maintaining WordPress Website

Example Post


Below is an example of a Internal Talk given by Michael Kelsey at the SuperCDMS Simulations WG Meetin. We use the title of the talk as the ‘title’ of the post. In this case, the title of the talk was “Implementation of FastDMC”. For the ‘content box’, we fill it with information regarding who gave the talk, when the talk was given, and at which meeting the talk occurred. We provide a link to the talk pdf under the work “Talk” and a link to that meeting url under the meeting title (if a link is provided).  We also set the ‘published on’ date to the day of the talk so that WordPress can filter talks based on when they were give. For simplicity, we always set the time of the talk to 00:00. For the ‘Categories’ section, we attribute the talk with its appropriate research area(s). In this case, we tag it as [CDMS, CDMS Internal Talk, Michael Kelsey].
example_talk

Managing Webpages


The Toback Group uses webpages to store/document content and information. If you need to add or edit a group webpage, you will always use the ‘Pages‘ tool on the WordPress Dashboard. 

Creating a Webpage

 
On the Toback Group webpages, we create new webpages through the ‘Pages‘ tool. To create a new webpage, you will need to select the ‘Add New‘ option under the ‘Pages‘ tool. Once selected you will be directed to the following page. There are two things that you will want to include when creating a new webpage. To start add a ‘title’ for the webpage by selecting the “Add title” section. Under page attributes, you can assign whether the new webpage will be subpage of an already existing webpage. For example, if the webpage is not related to an existing webpage you do not need to assign a Parent webpage. If for example, you are making a new CDMS webpage, then you will want to assign the already existing CDMS Home webpage as the Parent webpage. Once the title and parent have been assigned to the new webpage, you can start adding content to the webpage. You have two options, you can either edit the webpage through text or through a visual editor. It is preferred that you use Themify Builder to edit the webpages. To access Themify builder for your new webpage you can select the ‘Themify Builder’ button that is just under the title section. If instead you would like to use text or html, there is an optional text box. On the top right of the text box, you have the option to write in either ‘Visual’ or ‘Text’. The visual option allows you to begin writing page headers and paragraphs and the text option allows you to paste HTML code to structure the webpage. When the webpage is ready, you need to select the blue ‘Publish’ button to upload the new webpage to the website.

Editing a New or Existing Webpage

 
The Toback Group webpages uses Themify Builder to edit new or existing webpages. At this stage, it is assumed that when creating a new webpage you have clicked the ‘Themify Builder’ button. If you wish to edit an already existing webpage, select the webpage from the ‘Pages‘ tool. For example, lets edit the CDMS homepage. First, select the ‘Dark Matter (SuperCDMS)’ webpage from the list. You should be taken to this screen. Now you just need to click the ‘Themify Builder’ button to begin editing.

When Themify Builder has been selected you will be redirected to the webpage with a editor tool on the right side. Everything on the webpages is modular, meaning that we primarily use textboxes to organize content on the webpage. A decent tutorial, provided by Themify, can be followed to learn how the modules work and how to structure the webpage. There is also good documentation for Themify that serves as a “How To” tutorial. 

Managing Media


Content such as group pictures, pdfs/ppts of talks, and group documentation is uploaded to WordPress using the ‘Media‘ tool. Typically internal documentation and talks are housed on Confluence and we simply provide links to Confluence. As for external talks, Masters/Ph.D. Defenses, and select internal talks, we upload the pdfs/ppts directly to WordPress.

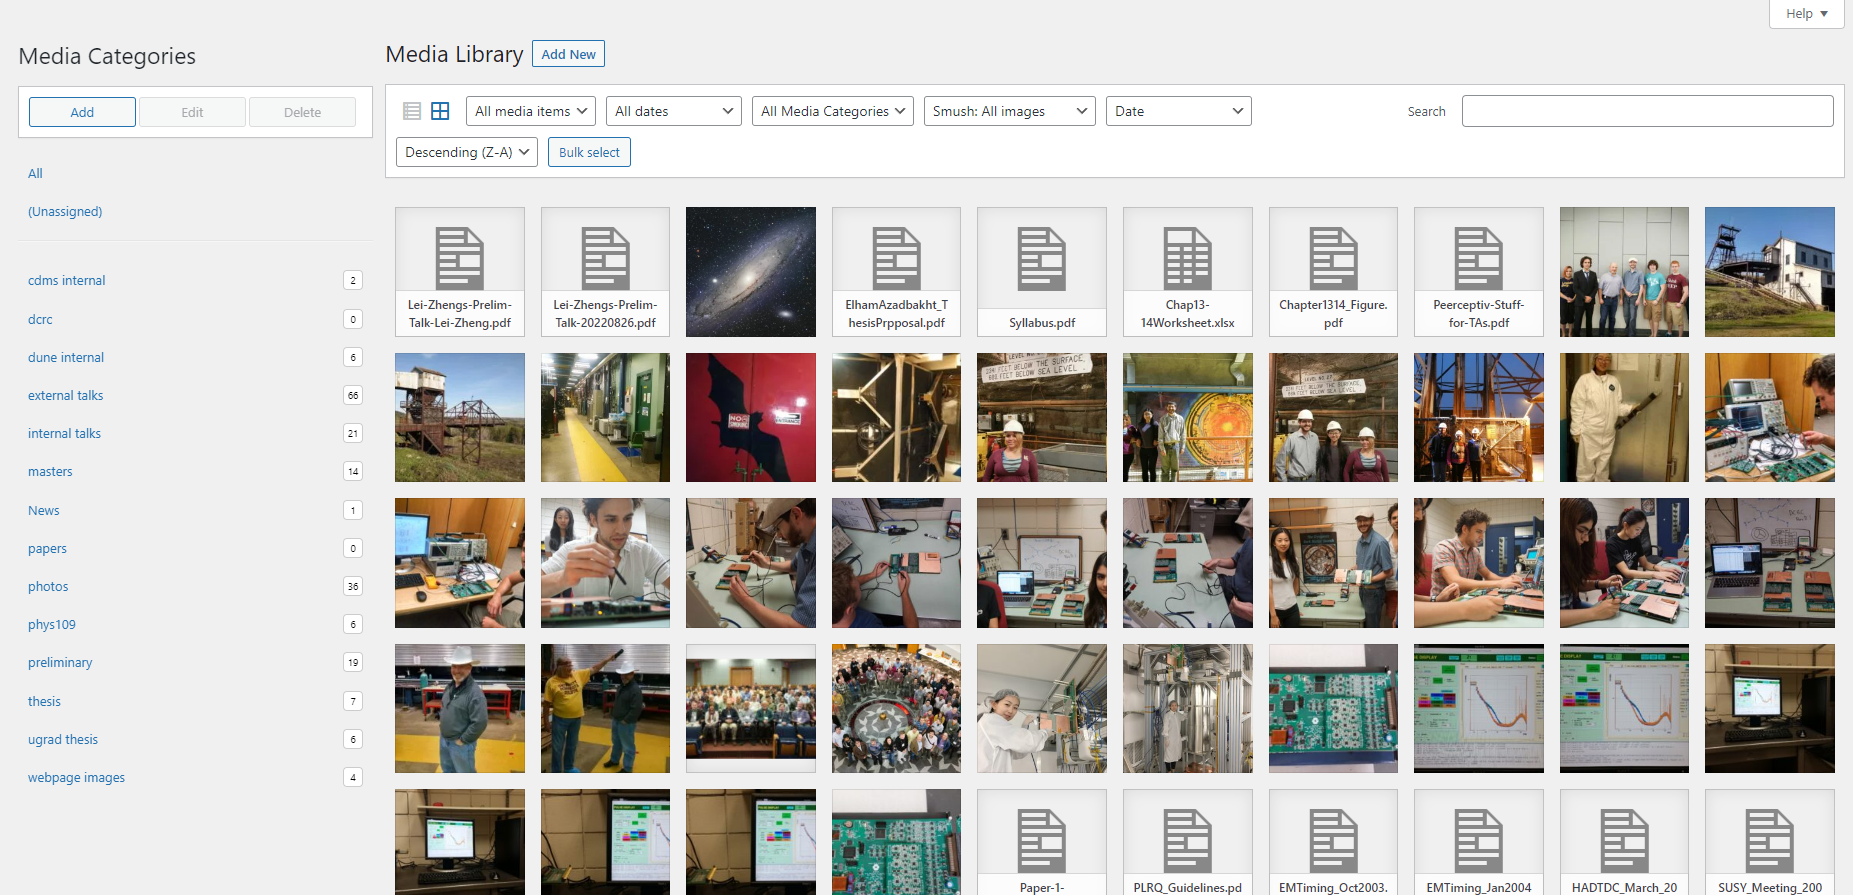
Creating a Media Category
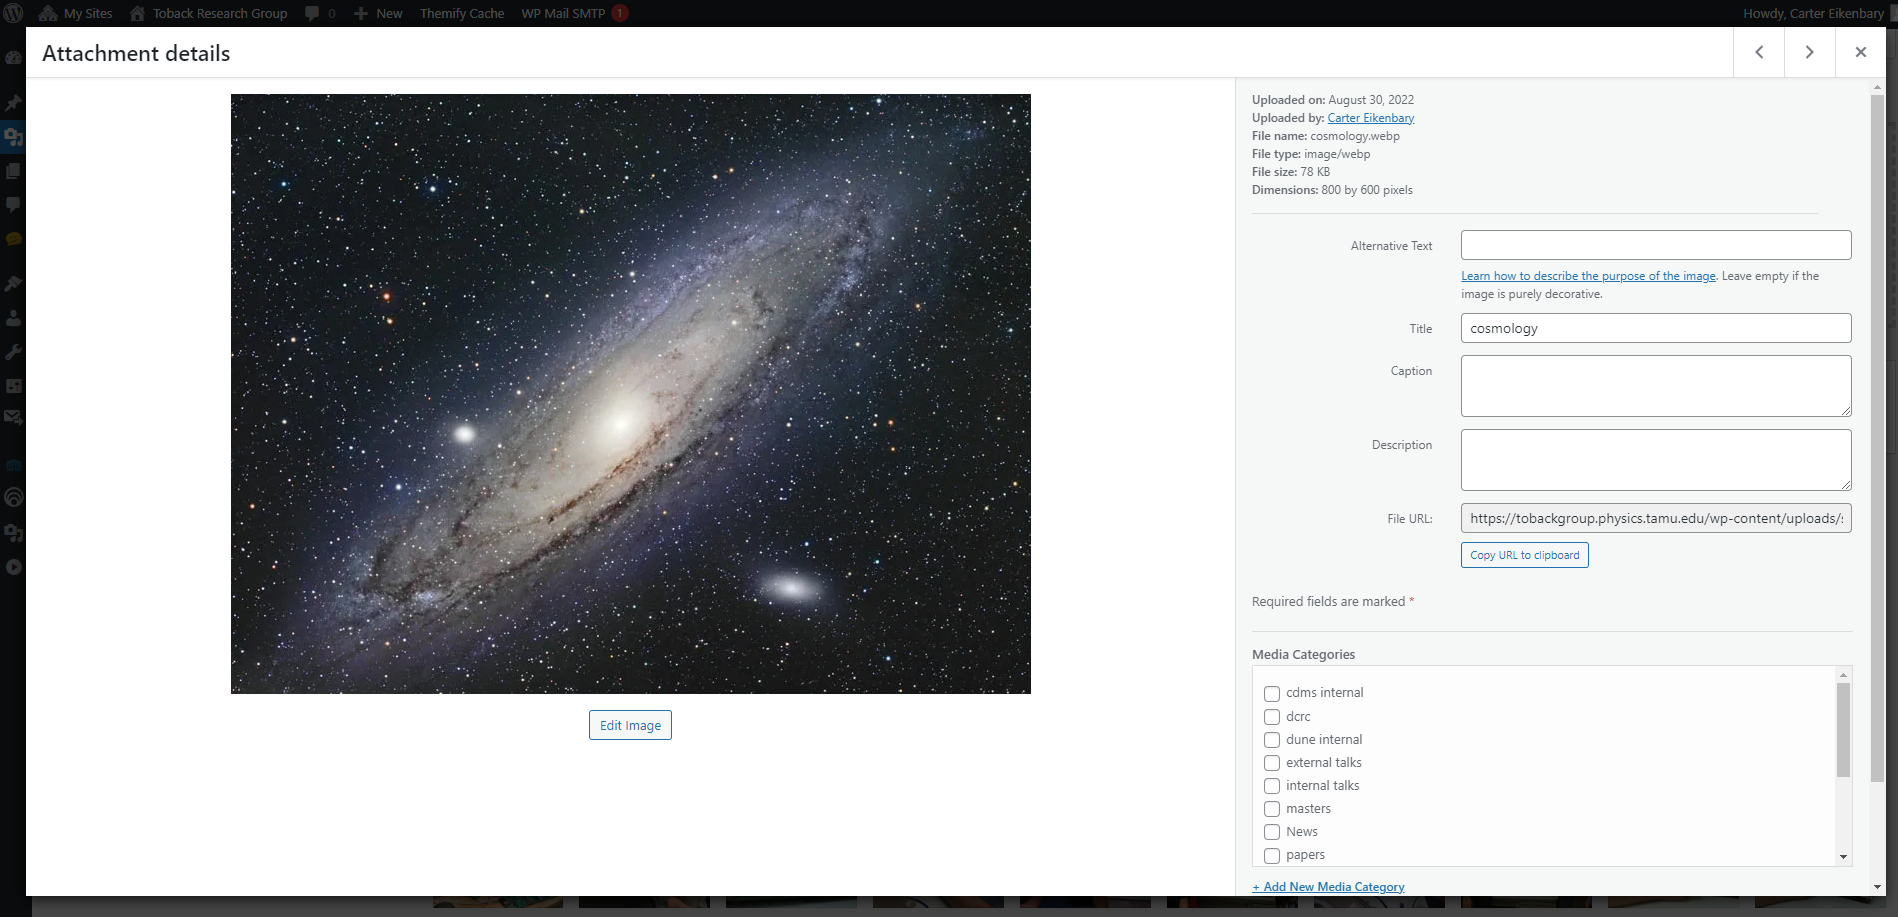
 
 
Similarly to WordPress Posts, we assign media to categories for organizational purposes. With the sheer amount of media uploaded to WordPress we need a way to easily navigate to specific content. To add a new media category, select the ‘Add’ option in the Media Categories tab. You will be prompted to name the new media category. After you select ‘OK’ the media category will show up in the Media Categories list.

Adding Media

 
To add content to the ‘Media‘ tool, press the ‘Add New’ button on the top of the webpage. WordPress will prompt you to either drag and drop a file or upload from your computer’s File Browser. To assign a category to the new media, you must select it from the list. For example, I selected an image that we use on the Toback Group homepage. Here you can change the image title, select the necessary media category, and copy the file url.